
Note - The following is an example of drivers installation for the DNTV Live! PCI cards. Other DVB-t devices would have similar installation procedure, but the drivers names and number of devices may differ.
If you have to install multiple cards in the same PC, please install one at the time. You will have to go through the manual installation process described in this chapter, as many times as you have cards to install. See also here for guidance
Automatic Driver Installation Example:
On Windows start up, a popup tool tip will appear, on the right bottom corner of your screen.
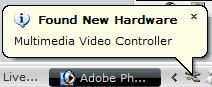
It will be similar to the above image.
This will continue for as many times as there are device drivers to be
installed (see
here ).
Each driver will have the following installation process which will start automatically after a few seconds.
1. A Found New Hardware Wizard screen will appear, choose No, not this time and press Next
2. Choose Install the software automatically (Recommended) and press Next
3. Windows will attempt to find the drivers on the Installation CD. If the drivers are found, the following dialog will appear:
Note: If you are installing only one DNTV Live! PCI card or device then ensure that the drivers in the folder "DNTV Live Tuner 1 Drivers" or "Drivers" are being installed. For additional X number of DNTV Live! cards you will need to point the driver installation to the appropriate "DNTV Live Tuner X Drivers" folder on your CD for up to a maximum of 4 DNTV Live! PCI cards. We recommend you follow the manual installation procedure in this case. See Below.
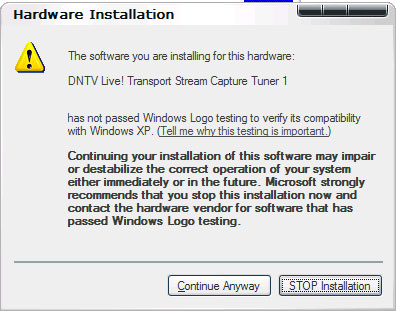
Choose Continue Anyway. Windows will then install the driver.
4. Press Finish to continue the driver installation process.
5. Repeat steps 1-4 until the following Tool tip appears:

Manual Driver Installation (Mandatory for Multiple DNTV Live! Card Installation):
On Windows start up, a popup tool tip will appear, on the right bottom corner of your screen.

It will be similar to the above image.
This will continue for 4 drivers.
Each driver will have the following installation process which will start automatically after a few seconds.
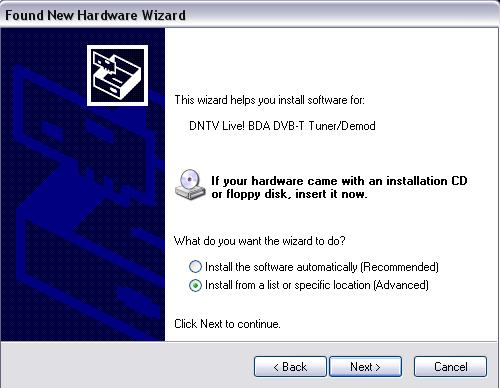
1. A Found New Hardware Wizard screen will appear, choose No, not this time and press Next
2. Choose Install from a list or specific location (Advanced) and press Next
3. Choose Don't search. I will choose the driver to install. and click Next.
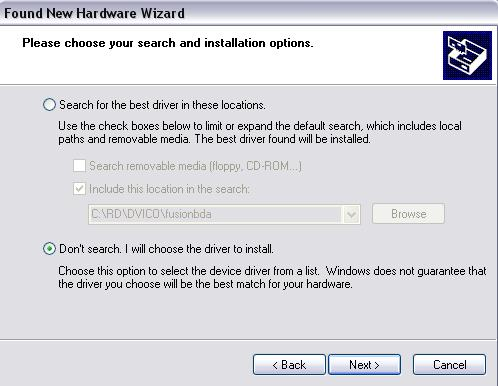
4. The following dialog or similar should appear, simply click Have Disk.. then when the next dialog appears click Browse... and choose the appropriate directory for the driver you wish to install. Follow the rest of the prompts.
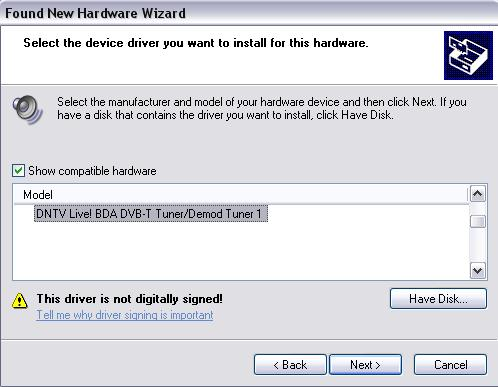
5. After following the prompts the following dialog will appear if installing Tuner 1. (If installing X number of cards then the dialog will show Tuner X where X is 2 for the 2nd card etc.. ) Click Continue Anyway.
4. Press Finish to continue the driver installation process.
5. Repeat steps 1-4 until the following Tool tip appears:
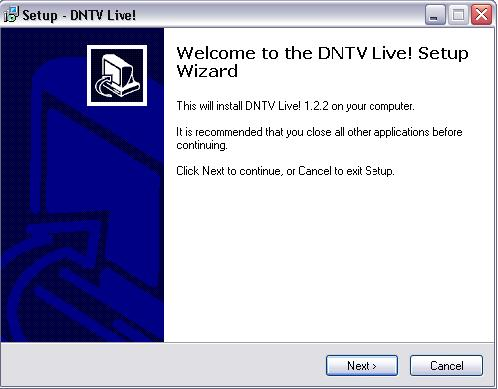
1) Click on ‘Install DNTV Live!’ on the auto run page.
2) This will open up the Setup program for DNTV Live!
Click the Next > button
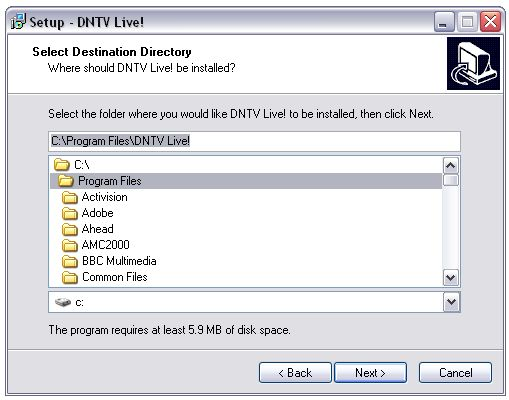
Here you can select where to install DNTV Live! Unless you want the installation on a different drive, press Next >
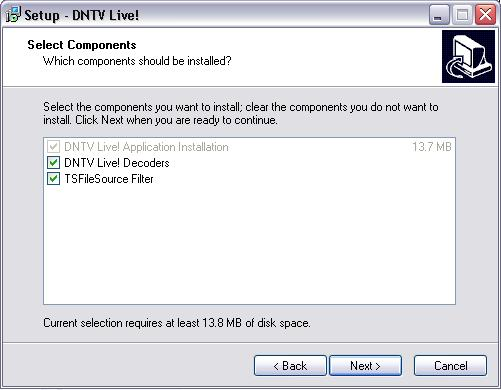
4) You can now select various optional components to install with DNTV Live!, which uses approx 13 MB of disk space. DNTV Live! Decoders are Audio and Video decoders developed by the open source community and are an excellent option when used with DNTV Live!. TSFileSource Filter is an excellent companion if you wish to have extensive playback control of recorded TS files. After selection, please click Next >
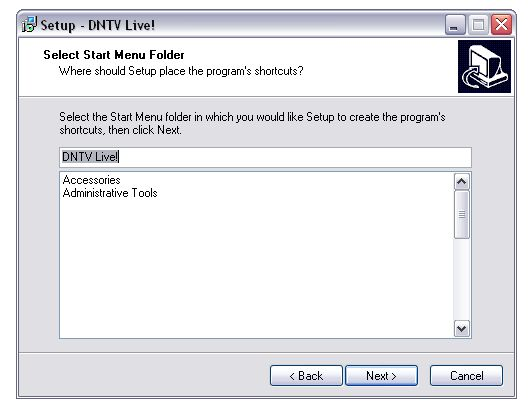
5) Here you can choose where to place the program shortcuts, the default is already selected, if you would like to change it please do so and then click Next >
6) Additional Tasks – here you can choose to place a shortcut icon to DNTV Live! onto your desktop and into your Quick Launch bar.
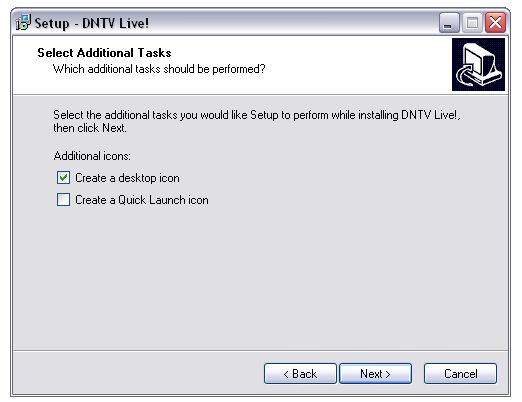
These will appear as:
 and
and ![]()
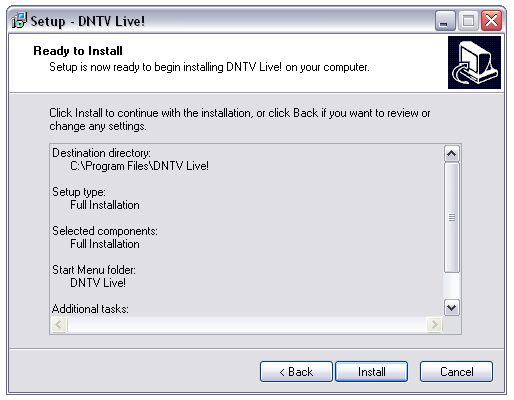
7) Now you are ready to install DNTV Live! – This screen will overview your setup options.
8) After the quick installation process, you will be prompted to restart your computer – this is essential so that all the correct drivers & filters can be loaded and registered.
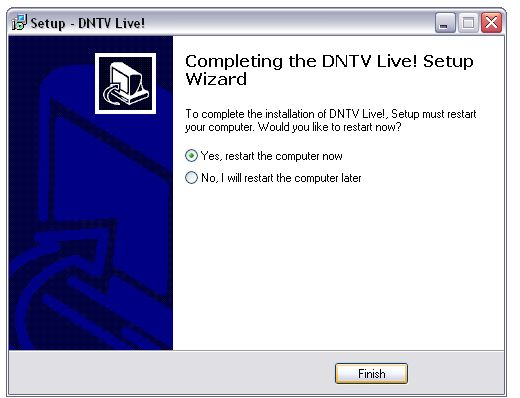
Congratulations! You have just completed Chapters 1 and 2. After your computer restarts you will now have to set up DNTV Live! The next chapter will guide you through how to do this.